

Multiplayer editing with Liveblocks
In this tutorial, you will turn Handsontable into a multiplayer grid with Liveblocks. You will learn how to sync cell values through Liveblocks Storage, share each user’s selected cell through Presence, and draw live selection borders for other users with a custom cell renderer.
Overview
Try the live example on Liveblocks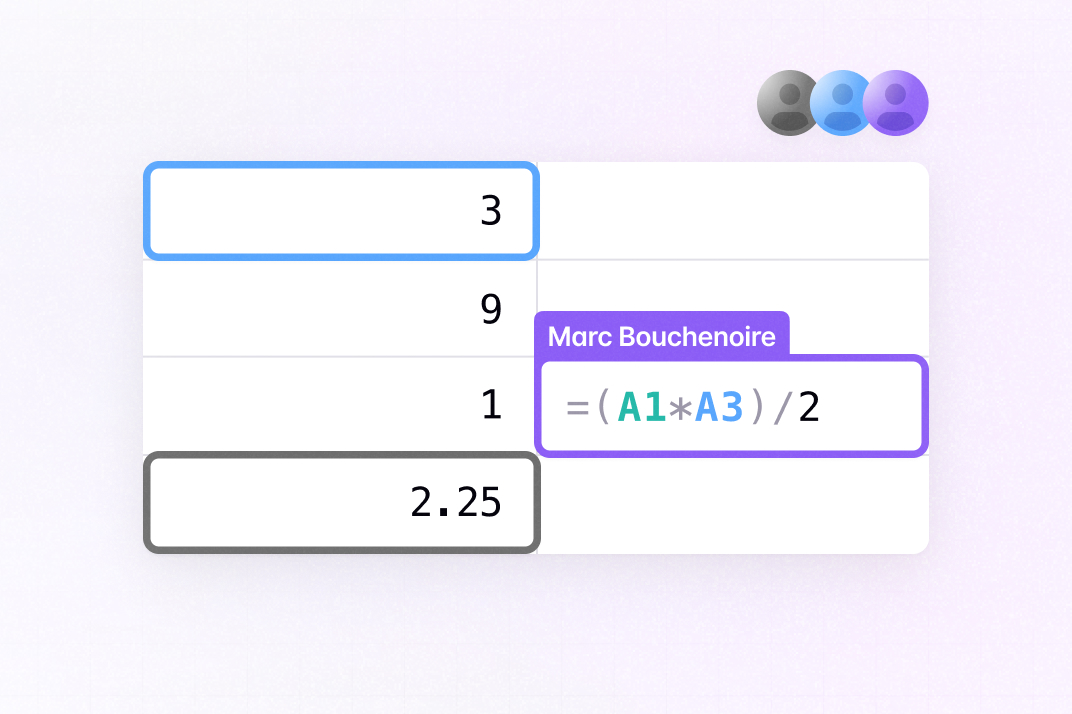
This recipe connects Handsontable to Liveblocks, a hosted real-time collaboration service. Two kinds of state travel over the Liveblocks room. The grid’s cell values live in Storage (the shared document every user edits), and each user’s currently selected cell lives in Presence (ephemeral per-user state). A custom renderer reads the presence of other users and paints a colored border on the cells they have selected, so everyone sees where everyone else is working.
Liveblocks runs against a hosted backend that needs your own API key, so the grid cannot run inside this page. The code below is the complete client. Follow the steps to wire it into a Next.js app, or open the live example above.
Difficulty: Intermediate
Time: ~20 minutes
Stack: Next.js (App Router), React, Liveblocks, Handsontable, @handsontable/react-wrapper
What You’ll Build
A shared data grid where every connected user:
- Edits the same cells in real time, so a change made by one user appears in every other user’s grid
- Sees a colored border on the cell each other user has selected, with stacked borders when several users sit on the same cell
- Joins through a single Liveblocks room with an initial 10×5 empty grid
Before you begin
This recipe assumes a Next.js app using the App Router. You also need a free Liveblocks account to get a public API key.
Install the dependencies:
npm install @liveblocks/client @liveblocks/react @handsontable/react-wrapper handsontableScaffold the Liveblocks configuration:
npx create-liveblocks-app@latest --init --framework reactCopy your public API key from the Liveblocks dashboard and use it in place of {{PUBLIC_KEY}} in Room.tsx (Step 2).
Define Presence and Storage types
TypeScript import type { LiveList } from "@liveblocks/client";export const GRID_ROWS = 10;export const GRID_COLS = 5;declare global {interface Liveblocks {Presence: {selectedCell: { row: number; col: number } | null;};Storage: {grid: LiveList<LiveList<string>>;};}}What’s happening: The global
Liveblocksinterface tells the Liveblocks hooks the exact shape of your room.Storageis the persisted, shared document: aLiveListof rows, each itself aLiveListof cell strings, so it can be mutated cell-by-cell without replacing the whole grid.Presenceis each user’s ephemeral state: the row and column of their selected cell, ornullwhen nothing is selected.Why a nested
LiveList? ALiveList<LiveList<string>>lets two users edit different cells at the same time without conflict. Setting one cell callsrow.set(colIndex, value)on only that inner list, so Liveblocks merges concurrent edits instead of replacing the entire grid.Set up the room
TypeScript "use client";import { LiveList } from "@liveblocks/client";import { ReactNode } from "react";import {LiveblocksProvider,RoomProvider,ClientSideSuspense,} from "@liveblocks/react/suspense";import { GRID_COLS, GRID_ROWS } from "./liveblocks.config";export function Room({ children }: { children: ReactNode }) {return (<LiveblocksProvider publicApiKey={"{{PUBLIC_KEY}}"}><RoomProviderid="my-room"initialPresence={{ selectedCell: null }}initialStorage={{grid: new LiveList(Array.from({ length: GRID_ROWS },() => new LiveList(Array.from({ length: GRID_COLS }, () => "")))),}}><ClientSideSuspense fallback={<div>Loading…</div>}>{children}</ClientSideSuspense></RoomProvider></LiveblocksProvider>);}What’s happening:
LiveblocksProviderconnects the app to your Liveblocks project with the public API key.RoomProviderjoins the room"my-room"and seeds it:initialPresencestarts every user with no selected cell, andinitialStoragebuilds a 10×5 grid of empty strings the first time the room is created.ClientSideSuspenseholds back the children until the room’s storage has loaded.Wire up the page
TypeScript import { Room } from "./Room";import { Table } from "./Table";export default function Page() {return (<Room><Table /></Room>);}What’s happening: The page renders the
Tableinside theRoom, so every Liveblocks hook the table uses resolves against the joined room.Read and write cell values through Storage
JavaScript "use client";import { shallow } from "@liveblocks/client";import { HotTable } from "@handsontable/react-wrapper";import { registerAllModules } from "handsontable/registry";import { textRenderer } from "handsontable/renderers";import {useMutation,useOthersListener,useStorage,} from "@liveblocks/react/suspense";import { useCallback, useRef } from "react";import { GRID_COLS, GRID_ROWS } from "./liveblocks.config";registerAllModules();export function Table() {const hotRef = useRef(null);// Get the realtime grid contents from Liveblocks Storageconst data = useStorage((root) =>root.grid.map((row) =>Array.from({ length: GRID_COLS }, (_, c) => String(row[c] ?? ""))),shallow);// Update a cell's valueconst updateCell = useMutation(({ storage }, rowIndex, colIndex, value) => {const grid = storage.get("grid");const row = grid.get(rowIndex);if (row) {row.set(colIndex, value);}}, []);// Update the grid when a cell is changedconst afterChange = useCallback((changes, source) => {if (!changes || source === "loadData") {return;}for (const [row, prop, , newVal] of changes) {if (typeof prop !== "number") {continue;}updateCell(row,prop,newVal === null || newVal === undefined ? "" : String(newVal));}},[updateCell]);// Sync selected cell to presenceconst syncSelectedCellToPresence = useMutation(({ setMyPresence }, row, col) => {setMyPresence({selectedCell: { row: row < 0 ? 0 : row, col: col < 0 ? 0 : col },});}, []);const clearSelectedCellPresence = useMutation(({ setMyPresence }) => {setMyPresence({ selectedCell: null });}, []);// Render presence inside cellsconst renderDataCell = useMutation(({ others }, ...props) => {textRenderer(...props);const [, td, row, col] = props;// Find users who have selected this cellconst selectedOthers = others.filter((o) =>o.presence.selectedCell?.row === row &&o.presence.selectedCell?.col === col);if (!selectedOthers.length) {td.style.boxShadow = "";return;}// Add inner borders for selected userstd.style.boxShadow = selectedOthers.map((p, i) => `inset 0 0 0 ${2 + i * 2}px ${p.info.color}`).join(", ");}, []);// Re-render the table when others update their presenceuseOthersListener(({ type }) => {if (type === "update") {hotRef.current?.hotInstance?.render();}});return (<HotTableref={hotRef}data={data}hotRenderer={renderDataCell}afterChange={afterChange}afterSelection={syncSelectedCellToPresence}afterDeselect={clearSelectedCellPresence}colHeaders={true}rowHeaders={true}height={400}width={600}licenseKey="non-commercial-and-evaluation"autoWrapRow={true}autoWrapCol={true}/>);}The grid component above is the full client. The next steps walk through its three responsibilities, starting with reading and writing cell values:
const data = useStorage((root) =>root.grid.map((row) =>Array.from({ length: GRID_COLS }, (_, c) => String(row[c] ?? ""))),shallow);const updateCell = useMutation(({ storage }, rowIndex: number, colIndex: number, value: string) => {const grid = storage.get("grid");const row = grid.get(rowIndex);if (row) {row.set(colIndex, value);}},[]);What’s happening:
useStorageprojects theLiveListgrid into a plainstring[][]that Handsontable accepts as itsdata, and re-runs whenever storage changes, so a remote edit flows straight into the grid. Theshallowcomparison stops needless re-renders when the projected array is structurally unchanged.useMutationreturnsupdateCell, which writes a single cell back into storage; Liveblocks broadcasts that write to every other user.Why
setDataAtCellis not used here: the grid’sdatais driven entirely byuseStorage. You never imperatively set cell values. You mutate storage, and the storage subscription re-feedsdata, which keeps one source of truth.Sync edits and selection to the room
const afterChange = useCallback((changes: CellChange[] | null, source: ChangeSource) => {if (!changes || source === "loadData") {return;}for (const [row, prop, , newVal] of changes) {if (typeof prop !== "number") {continue;}updateCell(row,prop,newVal === null || newVal === undefined ? "" : String(newVal));}},[updateCell]);const syncSelectedCellToPresence = useMutation(({ setMyPresence }, row: number, col: number) => {setMyPresence({selectedCell: { row: row < 0 ? 0 : row, col: col < 0 ? 0 : col },});},[]);const clearSelectedCellPresence = useMutation(({ setMyPresence }) => {setMyPresence({ selectedCell: null });}, []);What’s happening:
afterChangeruns on every local edit. It skips the initialloadDatapass, then callsupdateCellfor each changed cell so the edit reaches storage.afterSelectionis wired tosyncSelectedCellToPresence, which writes the selected cell into the user’s presence; the< 0 ? 0guards clamp Handsontable’s header coordinates (-1) to a valid cell.afterDeselectclears presence so the border disappears when the user clicks away.Render other users’ selections
const renderDataCell = useMutation(({ others }, ...props: Parameters<typeof textRenderer>) => {textRenderer(...props);const [, td, row, col] = props;const selectedOthers = others.filter((o) =>o.presence.selectedCell?.row === row &&o.presence.selectedCell?.col === col);if (!selectedOthers.length) {td.style.boxShadow = "";return;}td.style.boxShadow = selectedOthers.map((p, i) => `inset 0 0 0 ${2 + i * 2}px ${p.info.color}`).join(", ");},[]);useOthersListener(({ type }) => {if (type === "update") {hotRef.current?.hotInstance?.render();}});What’s happening:
renderDataCellis passed to Handsontable ashotRenderer. It first calls the built-intextRendererto paint the value, then readsothers(the presence of every other user in the room) and finds those whoseselectedCellmatches this cell. For each match it stacks aninsetbox-shadow in that user’s color, so two users on the same cell show two nested borders.useOthersListenerre-renders the grid whenever another user’s presence changes, so borders follow them as they move.Why force a render? Handsontable does not know that remote presence changed.
useOthersListenerbridges that gap: on every presenceupdate, it callshotInstance.render()so the renderer re-runs with the new selection data.
How It Works - Complete Flow
- A user joins:
RoomProviderconnects to"my-room";ClientSideSuspensewaits for storage, thenuseStoragefeeds the 10×5 grid into Handsontable. - User A edits a cell:
afterChangefires,updateCellwrites the value into theLiveListgrid in storage. - Liveblocks broadcasts the storage change to everyone in the room.
- User B’s grid updates: their
useStoragesubscription re-runs, returning the newstring[][], and Handsontable shows the edit, with no manualsetDataAtCellcall. - User A selects a cell:
afterSelectionwrites{ row, col }into User A’s presence viasetMyPresence. - User B sees the selection:
useOthersListenercatches the presenceupdateand re-renders;renderDataCellfinds User A amongotherson that cell and draws a border in User A’s color. - User A clicks away:
afterDeselectsets presence back tonull, and User B’s next render clears the border.
What you learned
- How to model shared grid data as a nested Liveblocks
LiveListso concurrent cell edits merge instead of overwriting each other. - How
useStoragemakes Liveblocks storage the single source of truth for Handsontable’sdata, removing the need for imperative cell updates. - How
useMutationwrites both shared storage (cell values) and per-user presence (selection) back to the room. - How a custom
hotRendererreads the presence ofothersand paints stacked selection borders in each user’s color. - How
useOthersListenerre-renders the grid when remote presence changes so live cursors stay in sync.
Next steps
- Add authentication so only permitted users can join a room, instead of using a public API key in the client.
- Add comments anchored to cells with the Liveblocks comments recipe.
- Show a live avatar stack of who is in the room using the same
otherspresence data. - Compare with the WebSocket updates recipe to see a backend-agnostic real-time pattern that updates cells with
setDataAtCell.